")
Quick summary
- Homeowner prep checklist: move vehicles/items, protect valuables, and plan alternative parking.
- Daily install flow: prep, repairs, base coat, decorative broadcast, topcoat, and final QA.
- Tips for minimizing disruption and maximizing safety during the install.
Preparing your garage and home before installation helps the project run smoothly and protects your property. Clear vehicles, shelving, and stored items; move valuables and delicate items indoors; and secure pets. Installers will need space to stage grinding and mixing equipment and safe electrical access. We’ll provide a detailed prep checklist so you know exactly what to remove and how to plan temporary parking.
What happens on day one — inspection, testing, and mechanical profiling
The crew arrives and first confirms slab inspection results and moisture readings. We perform diamond grinding or shot blasting to remove contaminants and paint and to profile the slab mechanically for adhesion. This careful prep process is part of our commitment to a hassle-free residential epoxy flooring installation, giving homeowners confidence that the system will bond correctly and last for years. This step can generate dust and noise (we contain dust and clean thoroughly), so homeowners should plan for limited access and consider notifying neighbors if street access is needed for equipment.
Day two and beyond — base coat, decorative work, and topcoat sequencing
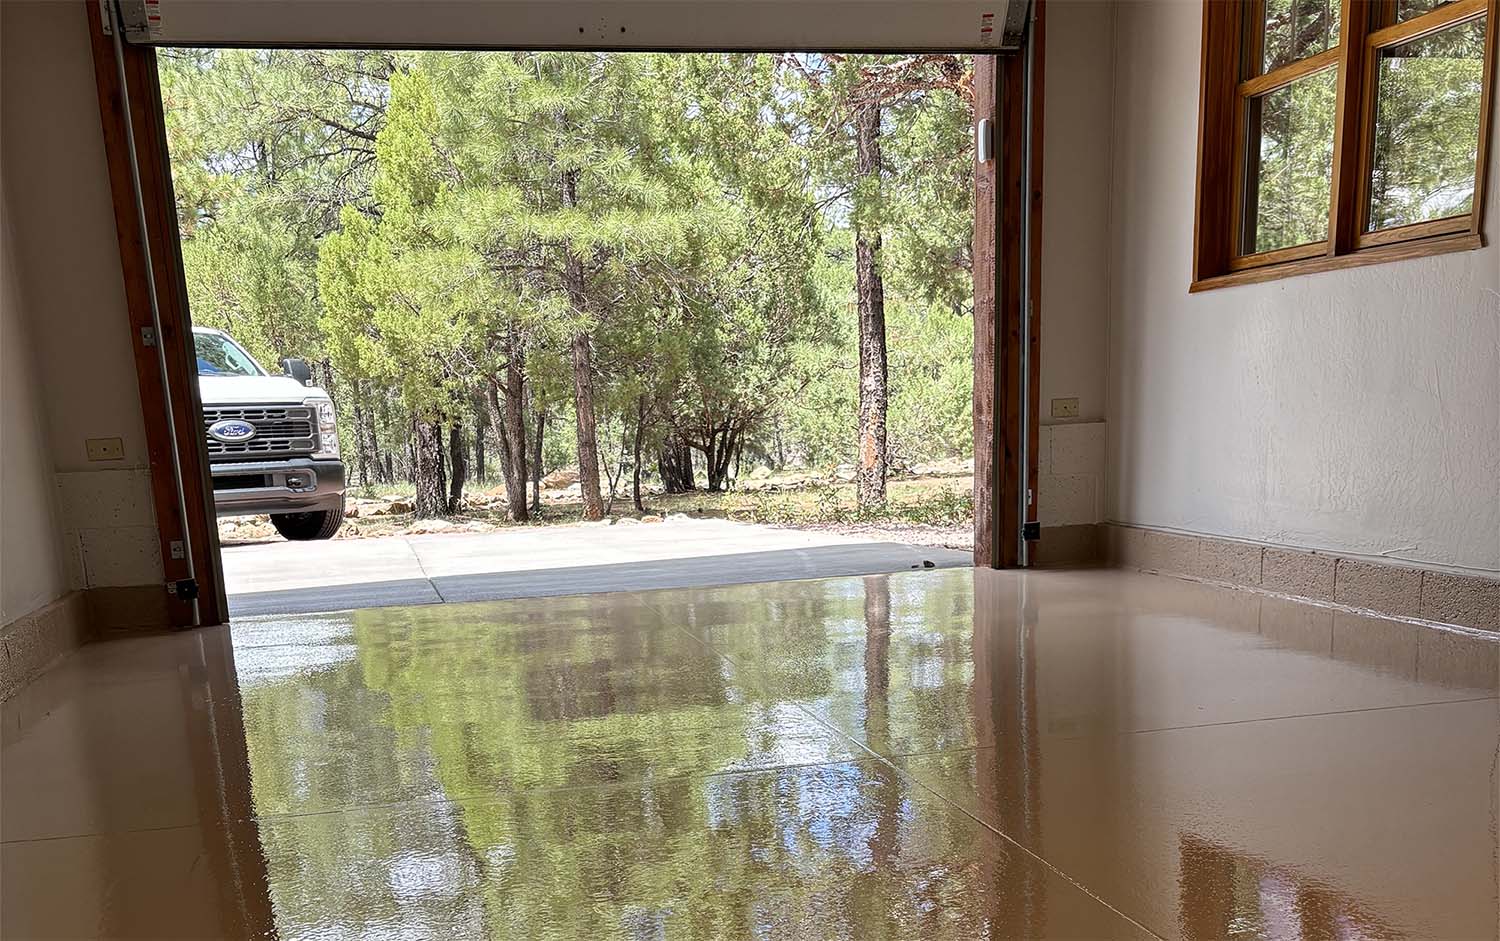
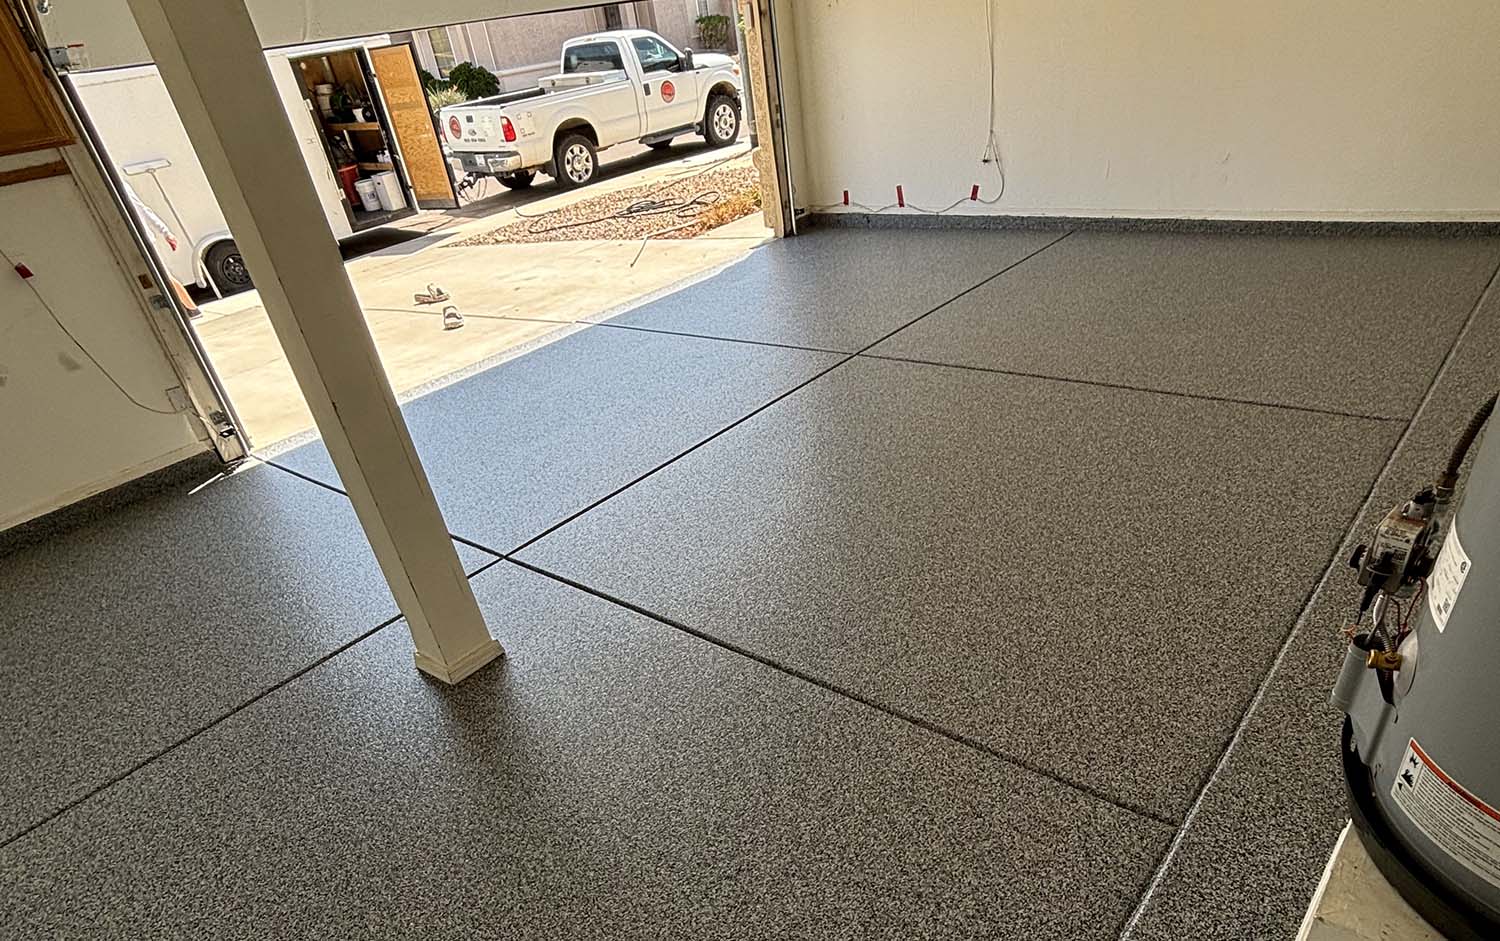
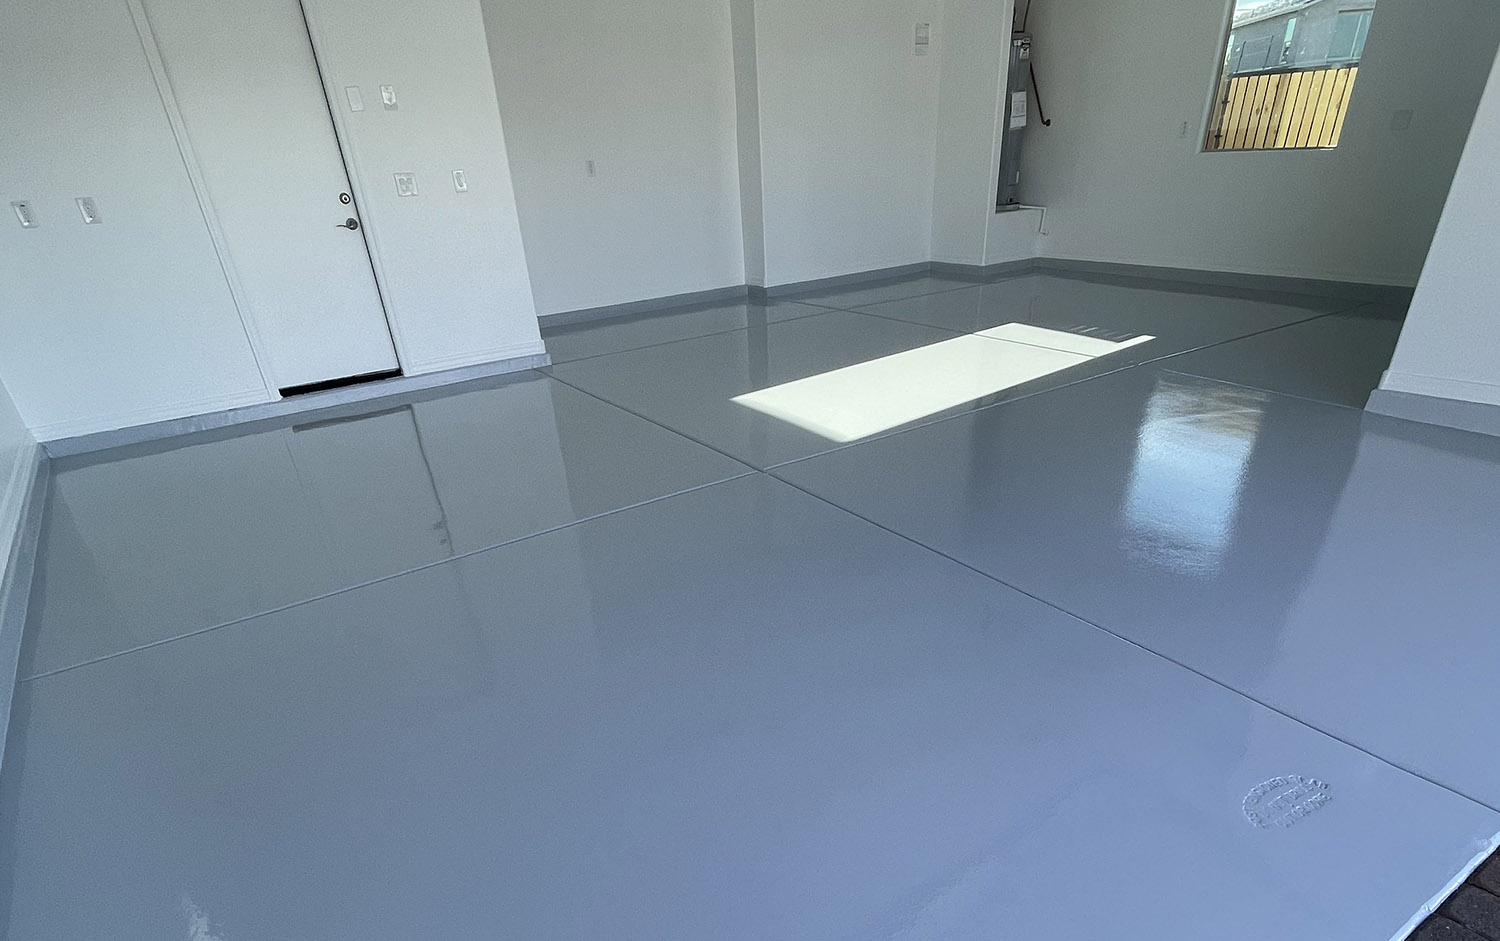
After prep and repairs, we apply the epoxy primer or base coat. For Granitex chip systems, chips are broadcast into the wet base and allowed to set; excess chips are removed. For metallic pours, careful mixing and application create the desired marbling effect. The final topcoat application seals and protects the decorative layer; polyaspartic topcoats often shorten cure times, allowing for a faster return to everyday garage use.
Post-install care and what homeowners should expect after crew departure
After the final topcoat and QA, we walk the homeowner through care instructions and provide warranty and maintenance documentation. Foot traffic and temporary restrictions for vehicles will depend on product cure times; we’ll confirm exact windows for your job. We also highlight the differences in DIY vs professional residential garage floor coating installation, making sure homeowners understand how our documented process and warranty-backed service provide far greater long-term value than store-bought kits. We provide contact information for follow-up and perform a final project sign-off photo record for your files and warranty purposes.
Final homeowner tips & checklists
Label items to remove, plan alternate parking, and keep pets away during the work. Provide a single point of contact for the crew and confirm staging locations. Want the prep checklist in your inbox? Click Download Homeowner Prep Checklist or schedule your on-site inspection — we’ll tailor the timeline for your home and system choice.
FAQs About Residential Garage Floor Coating
About AZ Garage Floors
AZ Garage Floors is a family-owned concrete coating company serving Buckeye, Surprise, Peoria, Avondale, and Phoenix. With decades of combined experience and hundreds of residential and commercial installations, AZ Garage Floors offers a full spectrum of garage floor coatings — from decorative residential systems (solid color epoxy, Granitex chip systems, metallic epoxy) to industrial commercial solutions (epoxy mortar, heavy-duty polyaspartic, chemical-resistant and anti-slip systems). The company utilizes commercial-grade 2-part resin products, thorough substrate preparation, and performance-based specifications to ensure longevity and safety. AZ Garage Floors offers residential warranty options and commercial warranty terms tailored to the project’s scale and usage.


